Exercise 1: Cross-Chain Real Estate
Calling The Zillow API
// Import the ethers library from npm
const { ethers } = await import("npm:ethers@6.10.0");
const Hash = await import("npm:ipfs-only-hash@4.0.0");

// Make an HTTP request to fetch real estate data
const apiResponse = await Functions.makeHttpRequest({
  url: `https://api.bridgedataoutput.com/api/v2/OData/test/Property('P_5dba1fb94aa4055b9f29696f')?access_token=6baca547742c6f96a6ff71b138424f21`,
});

// Extract relevant data from the API response
const realEstateAddress = apiResponse.data.UnparsedAddress;
const yearBuilt = Number(apiResponse.data.YearBuilt);
const lotSizeSquareFeet = Number(apiResponse.data.LotSizeSquareFeet);
const livingArea = Number(apiResponse.data.LivingArea);
const bedroomsTotal = Number(apiResponse.data.BedroomsTotal);

const metadata = {
  name: "Real Estate Token",
  attributes: [
    { trait_type: "realEstateAddress", value: realEstateAddress },
    { trait_type: "yearBuilt", value: yearBuilt },
    { trait_type: "lotSizeSquareFeet", value: lotSizeSquareFeet },
    { trait_type: "livingArea", value: livingArea },
    { trait_type: "bedroomsTotal", value: bedroomsTotal }
  ]
};

// Stringify the JSON object
const metadataString = JSON.stringify(metadata);

const ipfsCid = await Hash.of(metadataString);
console.log(ipfsCid);

return Functions.encodeString(`ipfs://${ipfsCid}`);Pricing Information
Storing Our Function On-chain
Using Factory Pattern to issue ERC-1155 tokens

Create ERC1155Core.sol
Create CrossChainBurnAndMintERC1155.sol

Create RealEstatePriceDetails.sol
Create RealEstateToken.sol
Deploy RealEstateToken.sol to Avalanche Fuji
Create Issuer.sol
Deploy Issuer.sol to Avalanche Fuji
Call the setIssuer function of the RealEstateToken.sol smart contract
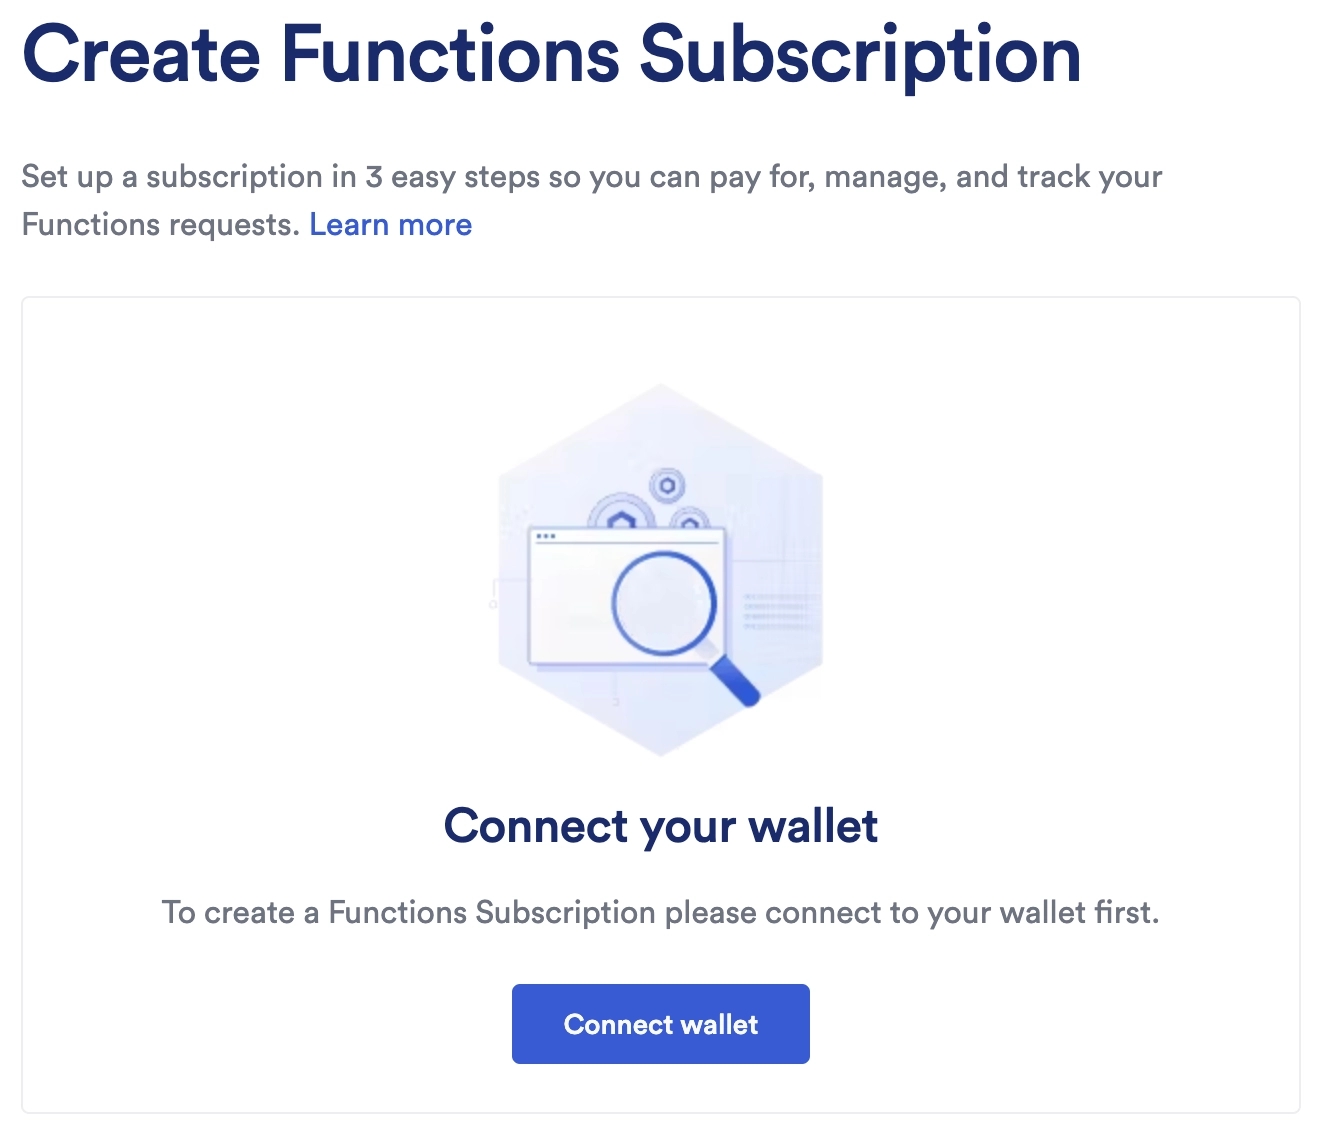
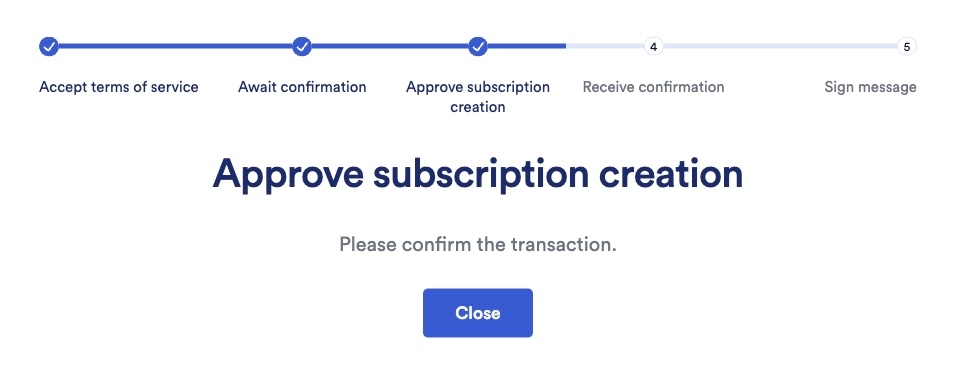
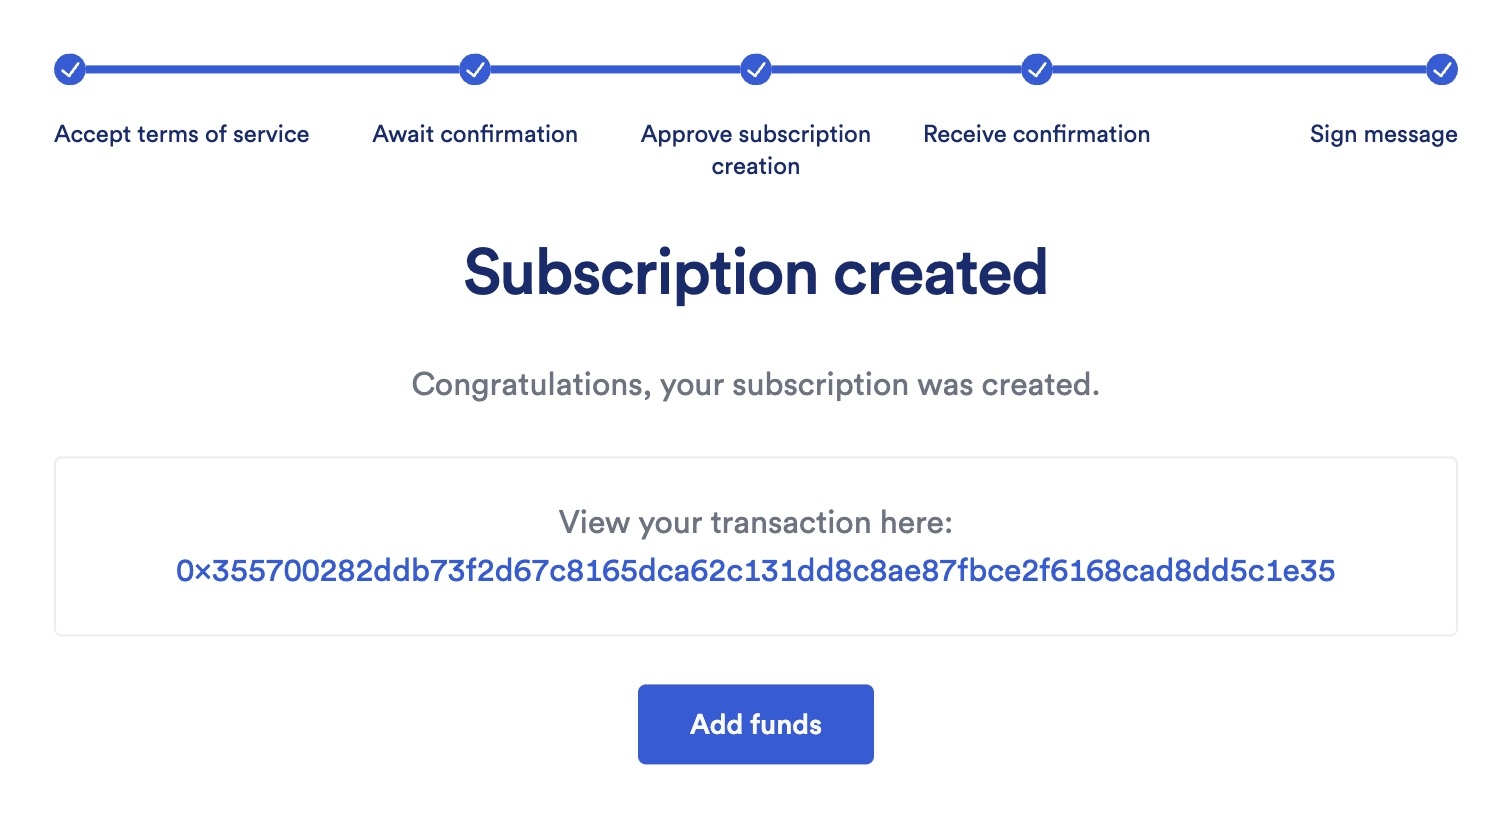
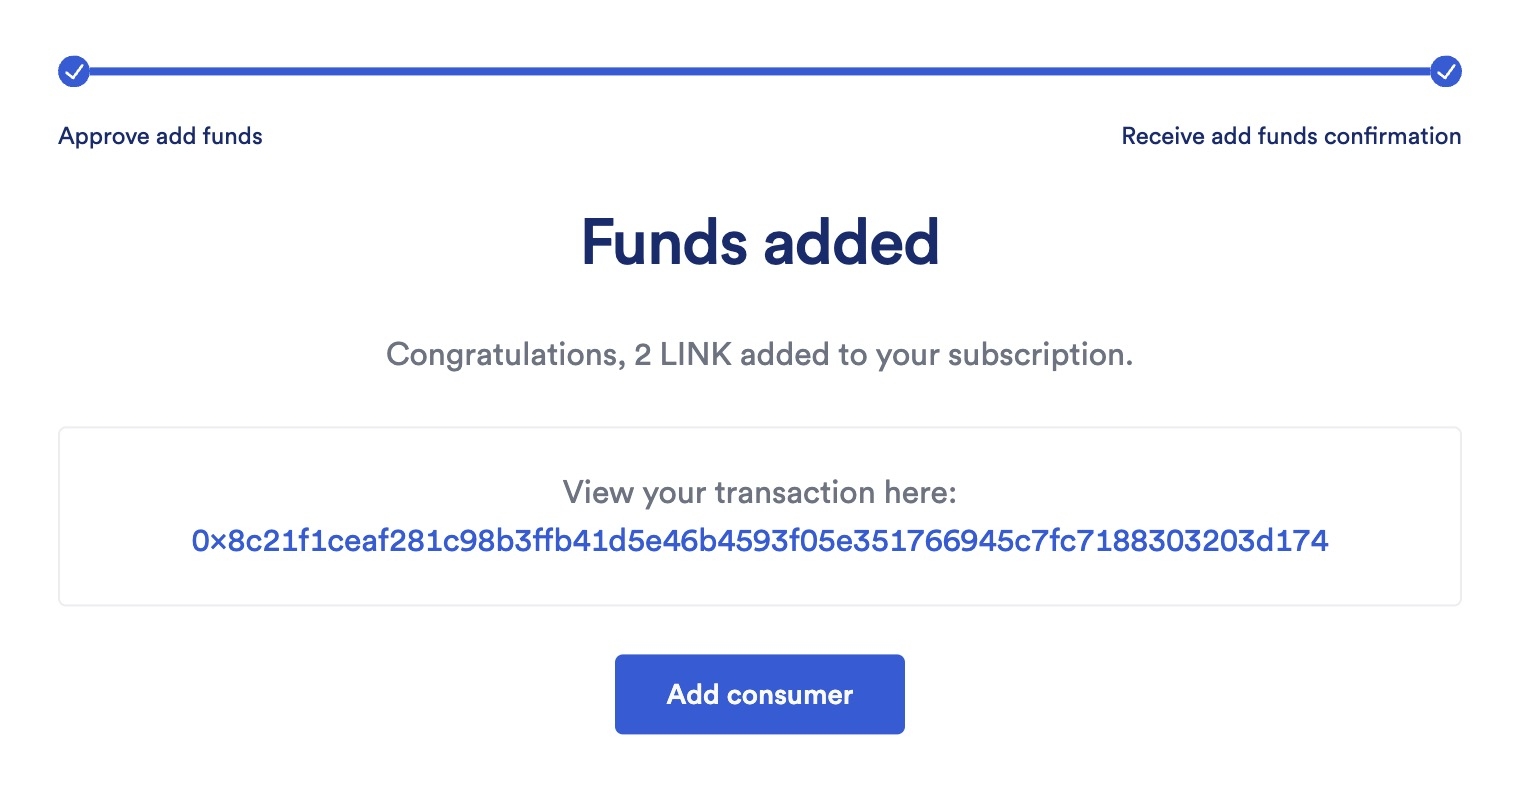
setIssuer function of the RealEstateToken.sol smart contractCreate Chainlink Functions Subscription and Fund it

Call the issue function of the Issuer.sol smart contract
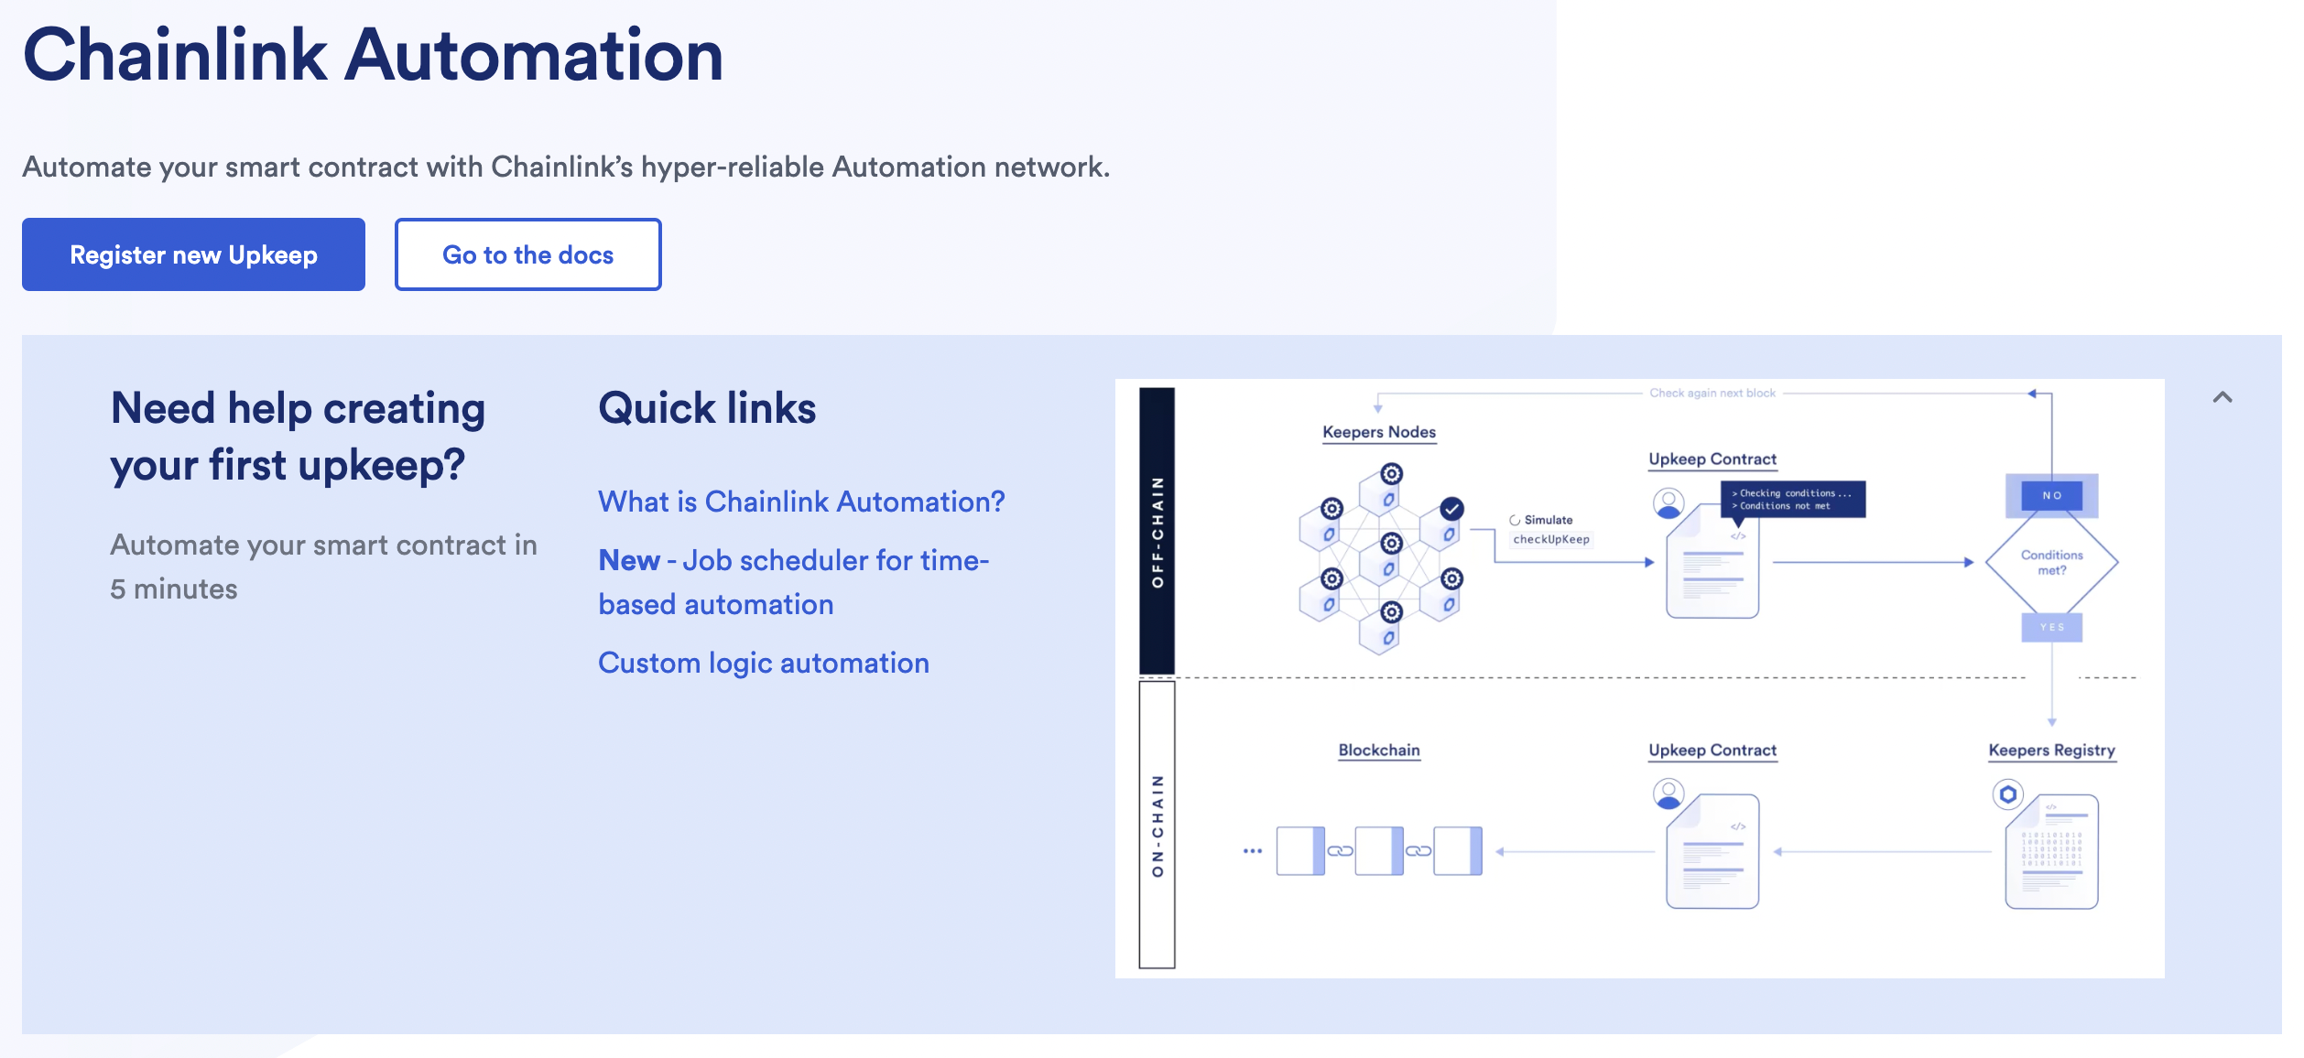
issue function of the Issuer.sol smart contractCreate Chainlink Automation Subscription and Fund it
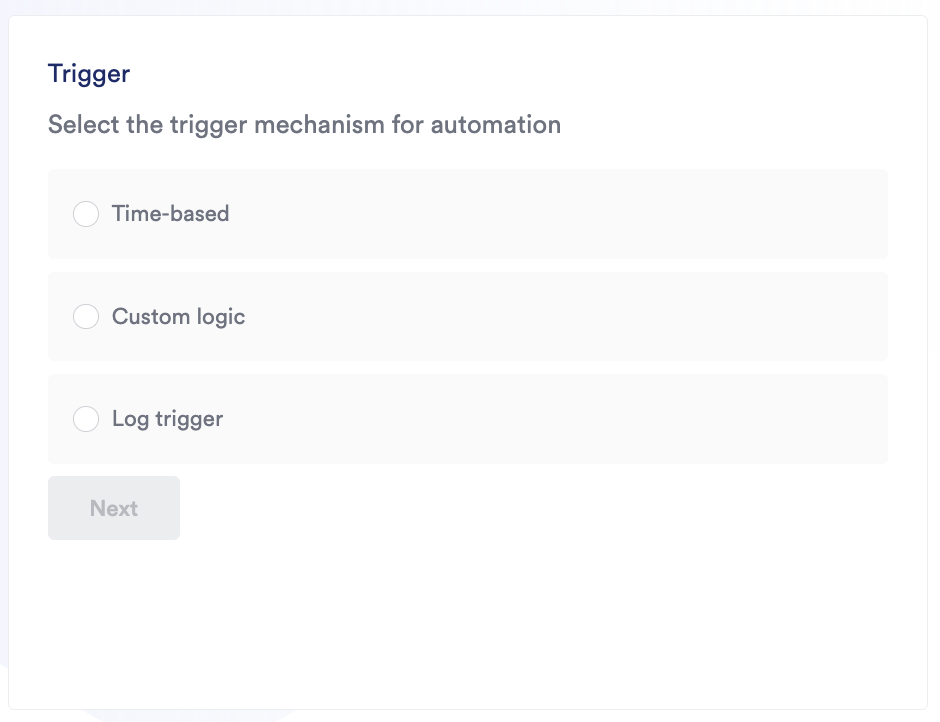

Call the setAutomationForwarder function of the RealEstateToken.sol smart contract
setAutomationForwarder function of the RealEstateToken.sol smart contractEnable Cross-chain transfers
Last updated